Automatic Firmware Emulation through Invalidity-guided Knowledge Inference
Link: https://www.usenix.org/confere/usenixsecurity21/presentation/zhou
Code Utilization Attempts
Set-up
Environment: Azure Counter-Small Ubuntu 20.04
Install Vagrant
sudo apt-get install virtualbox vagrant
Error
If virtualbox --version gives an error as The character device /dev/vboxdrv does not exist. Please install the virtualbox-dkms package and the appropriate headers, most likely linux-headers-generic., try to disable secure boot in BIOS configuration and rebot.
Download uEmu
git clone https://github.com/MCUSec/uEmu.git
cd uEmu
Modify the RAM allocation in uEmu/Vagrantfile to 8192 MB, or it may fail to build afl-fuzz:
58 | vb.memory = "8192" |
Lanuch a virtual machine
Start a vritual machine from the vagrant file in the repo:
vagrant up  # this will take a while, please be patient
vagrant ssh # connect to the virtual machine
Now, you will enter the virtual machine:
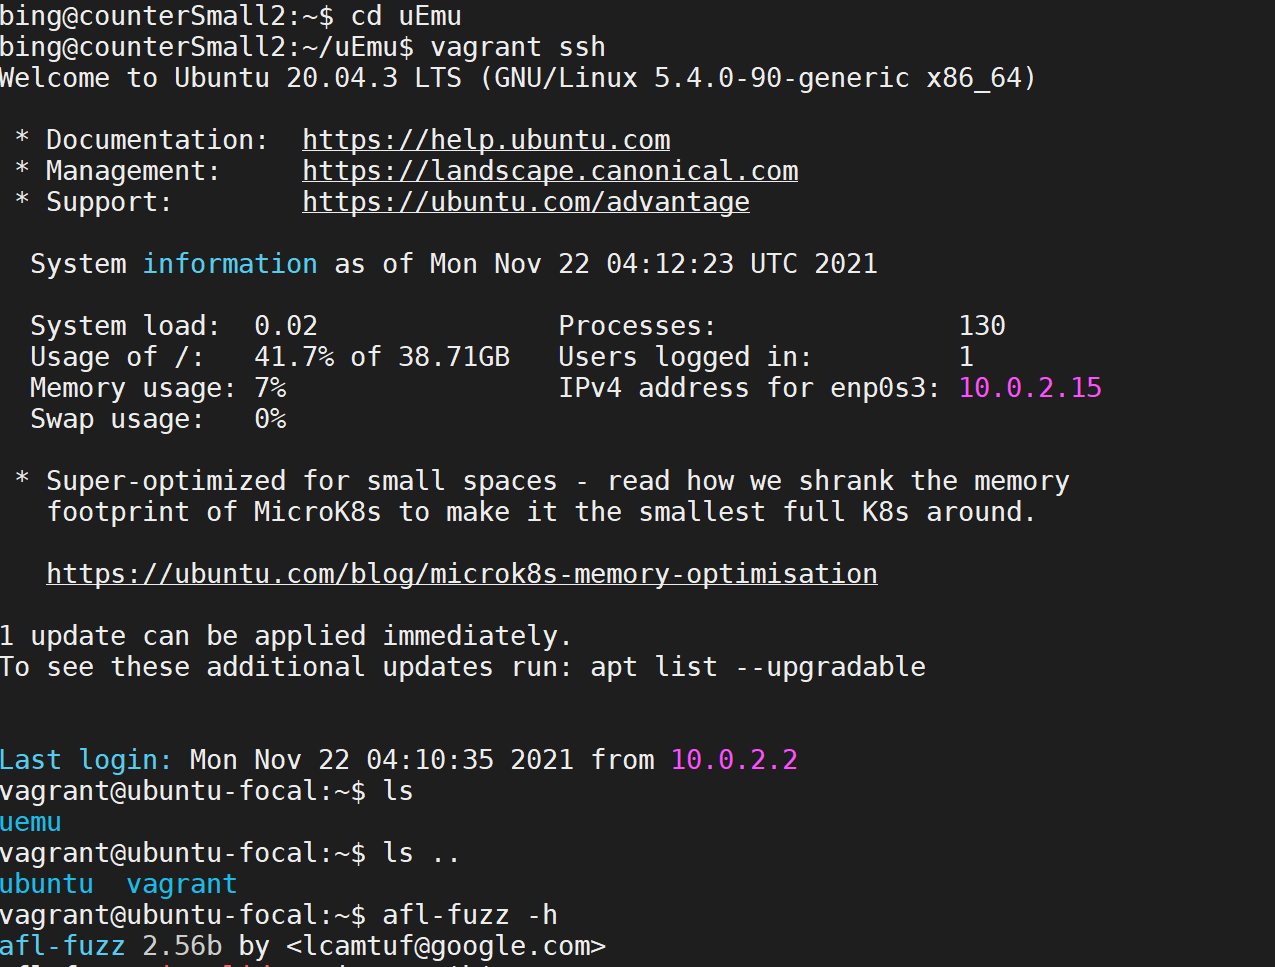
pwd is /home/vagrant, the uEmu/ folder on the host is mounted into /vagrant/ folder on the vagrant VM.
Install AFL ++ *
Note
Usually, when you build the vagrant VM with 8 GB RAM, it will build afl-fuzz automatically (so the process may last for 3+ hrs). In this case, just ignore this subsection. However if you have difficulties with allocating RAM more than 4 GB, the afl-fuzz may also fail to build due to the limited RAM.
From the readme of AFL ++
sudo apt-get update
sudo apt-get install -y build-essential python3-dev automake git flex bison libglib2.0-dev libpixman-1-dev python3-setuptools
# try to install llvm 11 and install the distro default if that fails
sudo apt-get install -y lld-11 llvm-11 llvm-11-dev clang-11 || sudo apt-get install -y lld llvm llvm-dev clang
sudo apt-get install -y gcc-$(gcc --version|head -n1|sed 's/.* //'|sed 's/\..*//')-plugin-dev libstdc++-$(gcc --version|head -n1|sed 's/.* //'|sed 's/\..*//')-dev
git clone https://github.com/AFLplusplus/AFLplusplus
cd AFLplusplus
make distrib
sudo make install
Warning
You may config llvm as llvm-11 by:
export LLVM_CONFIG=/usr/bin/llvm-config-11
If it says that ninja: command not found, install ninja by:
sudo apt-get install ninja-build
Access vagrant VM from VS code *
Although the host and VM share a mounted folder (uEmu / /vagrant/), which can be used to transfer files between them. To view the file strcuture clearly and edit files easily, we can also configure our VS code editor for remotely accessing the VM directly.
Print out the ssh configuration of the vagrant VM from the host terminal:
$ vagrant ssh-config
# Host default
#   HostName 127.0.0.1
#   User vagrant
#   Port 2222
#   UserKnownHostsFile /dev/null
#   StrictHostKeyChecking no
#   PasswordAuthentication no
#   IdentityFile /path/to/private_key
#   IdentitiesOnly yes
#   LogLevel FATAL
Copy the output to your ~/.ssh/config file, change hostname default to whatever you like to distinguish it from other hosts (e.g. I use vagrant).
Install Remote SSH extension for VS code, click here (on the bottom bar of VS) code window:

Then select “connect to host”:
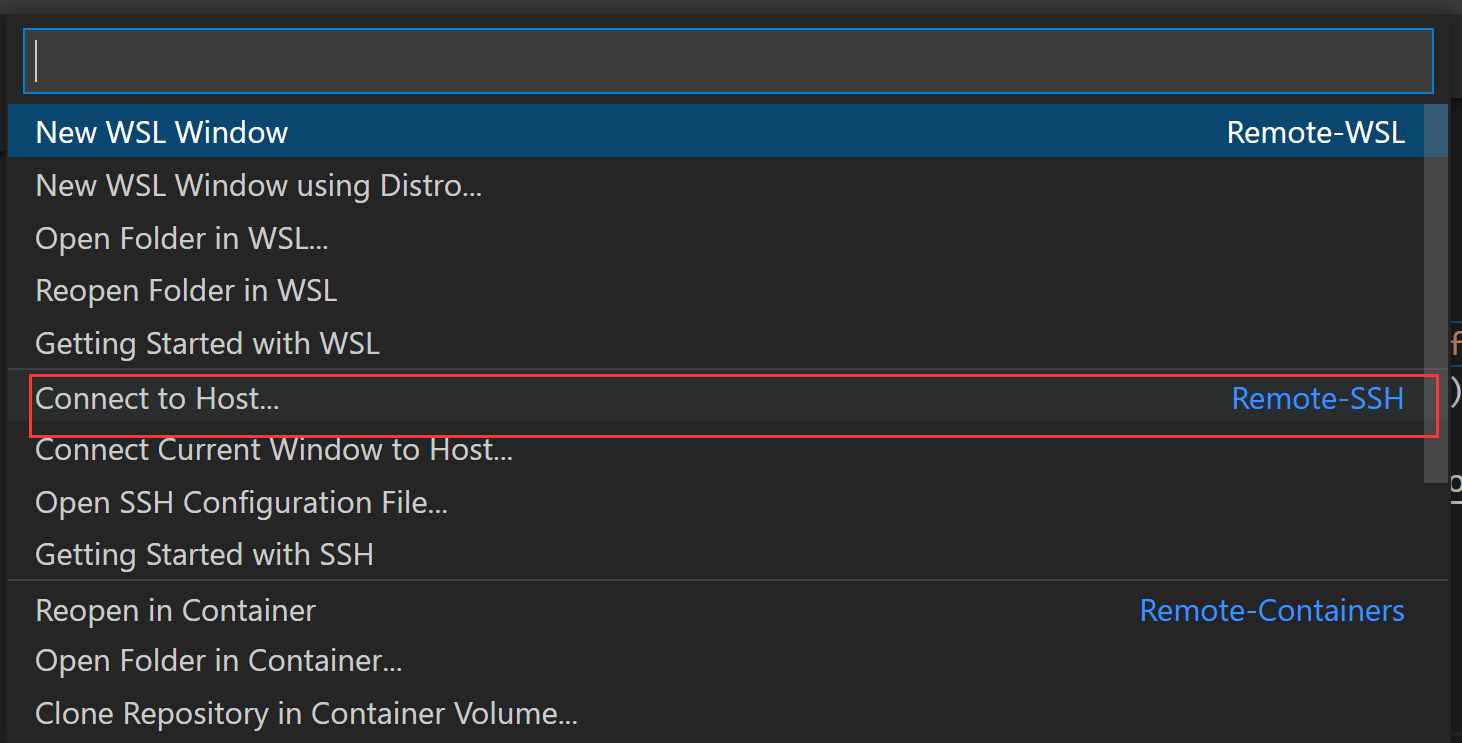
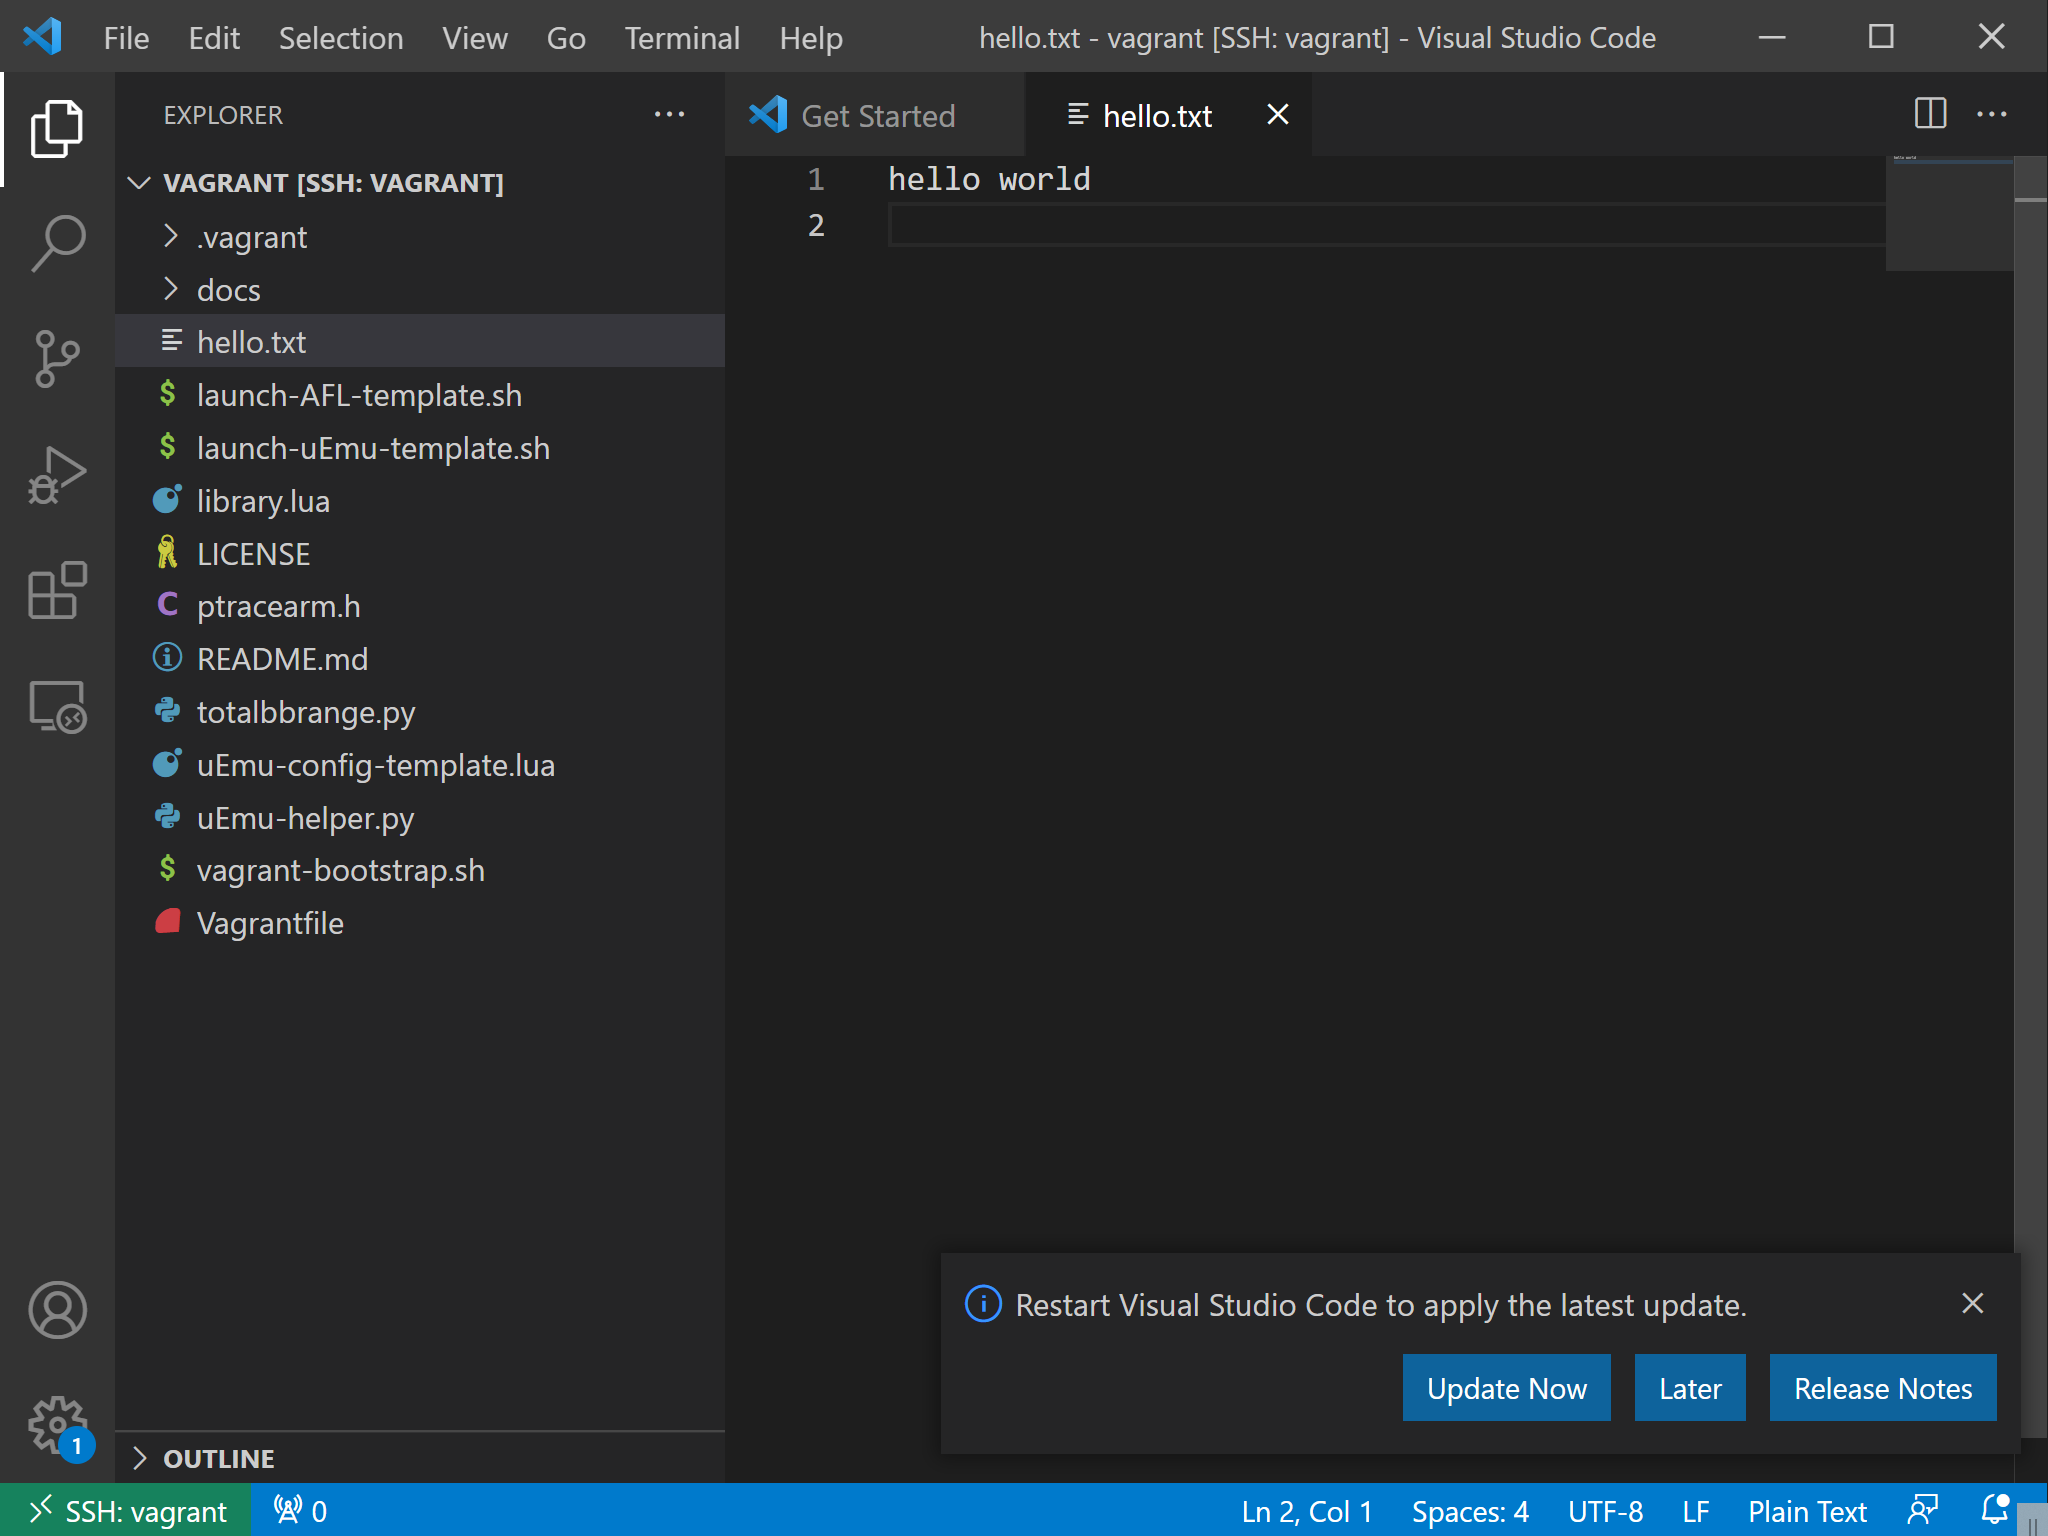
And choose “vagrant” host, open the /vagrant folder (or any other folder), then you can view and edit files like what you do on your local machine:
Note
If your host is a remote host (like me, I also use Azure VM to test it), you have to first forward your local host port to corresponding remote host port, for example:
ssh -N -f -L localhost:2222:localhost:2222 your-remote-host
Don’t forget to download the private key file to your local path and specify it in your local ~/.ssh/config file.
Test Firmwares (.cfg included)
My re-organized real world firmware repo:
Use git clone to clone them into the local space.
Usages
Since launch-uEmu-template.sh, launch-AFL-template.sh, uEmu-config-template.lua and library.lua must be placed in the same work path with the binary to test, First copy those files along with uEmu-helper.py into folder, for example:
cd /vagrant
cp launch-uEmu-template.sh launch-AFL-template.sh uEmu-config-template.lua library.lua uEmu-helper.py ~/uEmu-real_world_firmware
Enter the firmware folder:
cd ~/uEmu-real_world_firmware
Example: P2IM.Drone.elf
Extract KB:
python3 uEmu-helper.py P2IM.Drone.elf P2IM_Drone.cfg
Ignore the warnings. launch-uEmu.sh and uEmu-config.lua are generated from this command. Run launch-uEmu.sh to generate knowledge base (KB) file:
./launch-uEmu.sh
It mainly runs S2E for symbolic execution. Wait for a few minutes:
A KB file P2IM.Drone.elf-round1-state10-tbnum1371_KB.dat (some numbers may differ) will be produced in s2e-last, copy it into ./ and then start dynamic analysis and fuzzing:
Error
Don’t specify kb file like s2e-last/P2IM.Drone.elf-round1-state10-tbnum1371_KB.dat when generating launch-AFL.sh because the s2e-last will be overridden by outputs of the last execution of s2e, as s2e will serve as dynamic analyzer when fuzzing, the KB file might not be found when executing fuzzing and dynamic analysis. Copy the file out or use s2e-out-xxx/xxx as its path.
python3 uEmu-helper.py P2IM.Drone.elf P2IM_Drone.cfg -kb P2IM.Drone.elf-round1-state10-tbnum1371_KB.dat
A ./launch-AFL.sh appears after running the command.
Example: XML_Parser
After reading git log of uEmu-real_world_firmware, I found that WYCNINWYC in the docs example is actually changed as XML_Parser. So I use it as an example here to run.
Extract KB:
python3 uEmu-helper.py XML_Parser.elf XML_Parser.cfg
Get launch-uEmu.sh and run it:
./launch-uEmu.sh
Get the KB file, copy it into pwd and generate AFL file:
cp s2e-last/XML_Parser.elf-round1-state51-tbnum1061_KB.dat ./
python3 uEmu-helper.py XML_Parser.elf XML_Parser.cfg -kb XML_Parser.elf-round1-state51-tbnum1061_KB.dat -s small_document.xml
Get launch-AFL.sh script, to run the fuzzing and dynamic analysis simultaneously, you need to start two terminals as:
Terminal 1
Fuzzing (AFL)
Input test-cases
./launch-AFL.sh
Terminal 2
Dynamic analysis (S2E)
Consume test-cases
./launch-uEmu.sh
When terminating AFL, the other process will end automatically.
Reproduce the vulnerabilities
It is mentioned in the paper that uEmu helps in finding two previously unknown bugs in Steering_Control and \(\mu\)TaskerUSB.
\(\mu\)TaskerUSB
The bug is caused by out-of-bound write. The USB driver only uses a receive buffer of 512 bytes to read an input of up to 1,024 bytes, resulting in DoS or data corruption.
python3 uEmu-helper.py uEmu-real_world_firmware/uEmu/uEmu_utasker_USB/uEmu.uTasker_USB.out uEmu-real_world_firmware/uEmu/uEmu_utasker_USB/uEmu_utasker_USB.cfg
./launch-uEmu.sh
cp s2e-last/3/uEmu.uTasker_USB.out-round1-state4086-tbnum1019_KB.dat ./
python3 uEmu-helper.py uEmu-real_world_firmware/uEmu/uEmu_utasker_USB/uEmu.uTasker_USB.out uEmu-real_world_firmware/uEmu/uEmu_utasker_USB/uEmu_utasker_USB.cfg -kb uEmu.uTasker_USB.out-round1-state4086-tbnum1019_KB.dat
Caution
I modified S2E_MAX_PROCESSES as 4 in launch-uEmu.sh to make S2E run in 4 workers, but it still took 7695s to finish, which is much longer than the time (227s) marked in the paper. (I have already re-launched the vagrant VM with 16 cores and 48 GB RAM).
Then I reverted S2E_MAX_PROCESSES to 1 and found it runs even faster, which is really weird.
Related issue: https://github.com/MCUSec/uEmu/issues/8
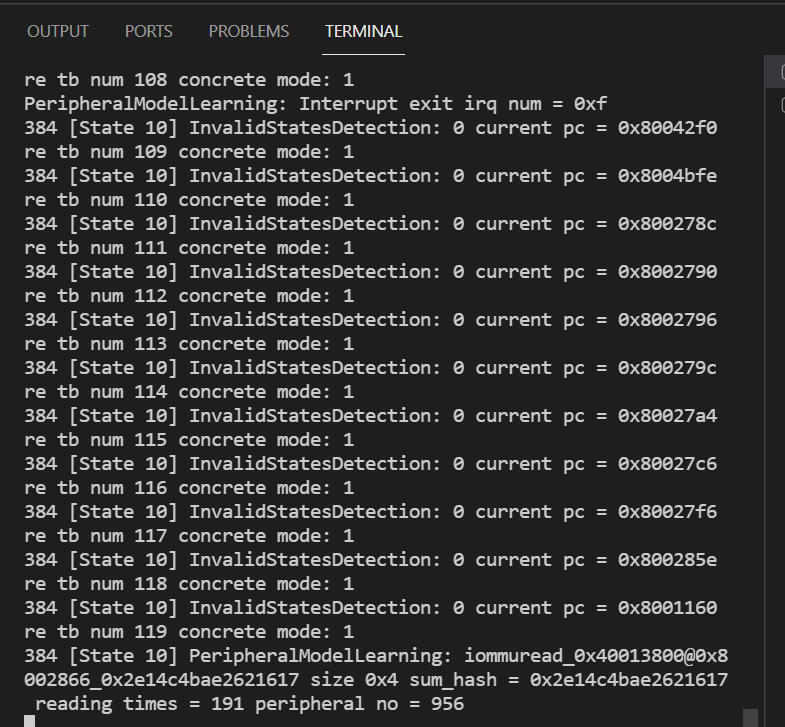
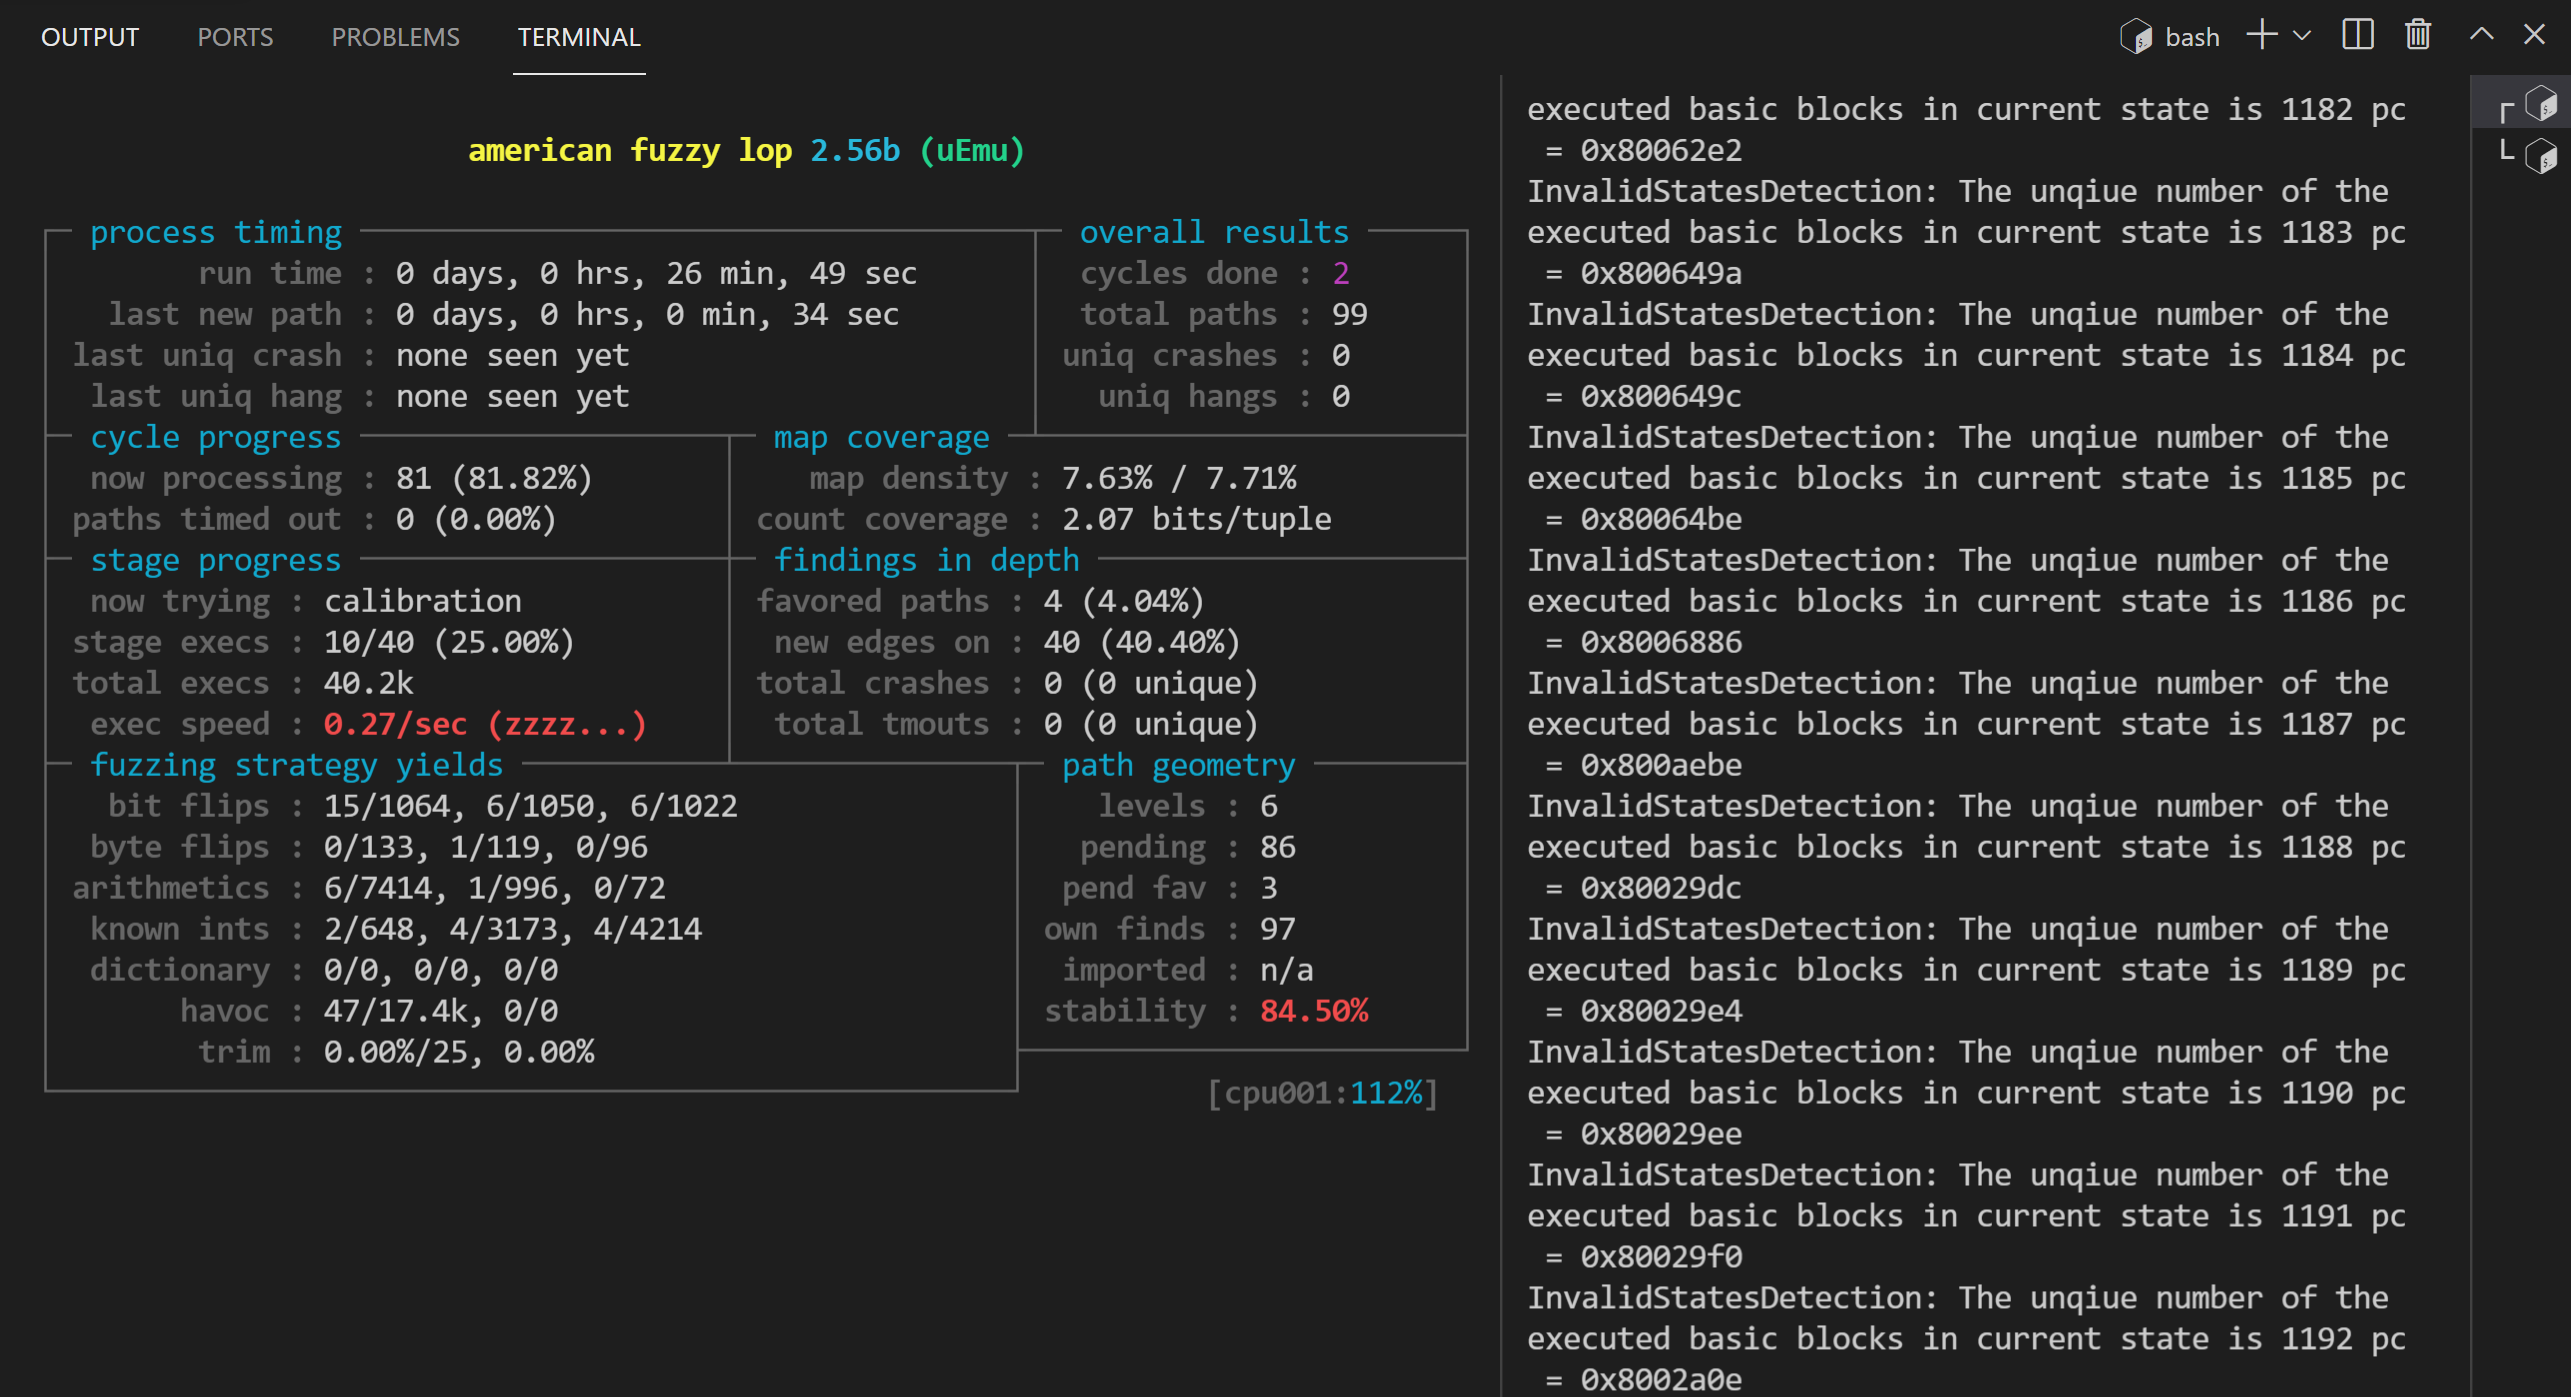
Then start two screens to run ./launch-uEmu.sh and ./launch-AFL.sh respectively. After about 7 hours, it found some crashes as:
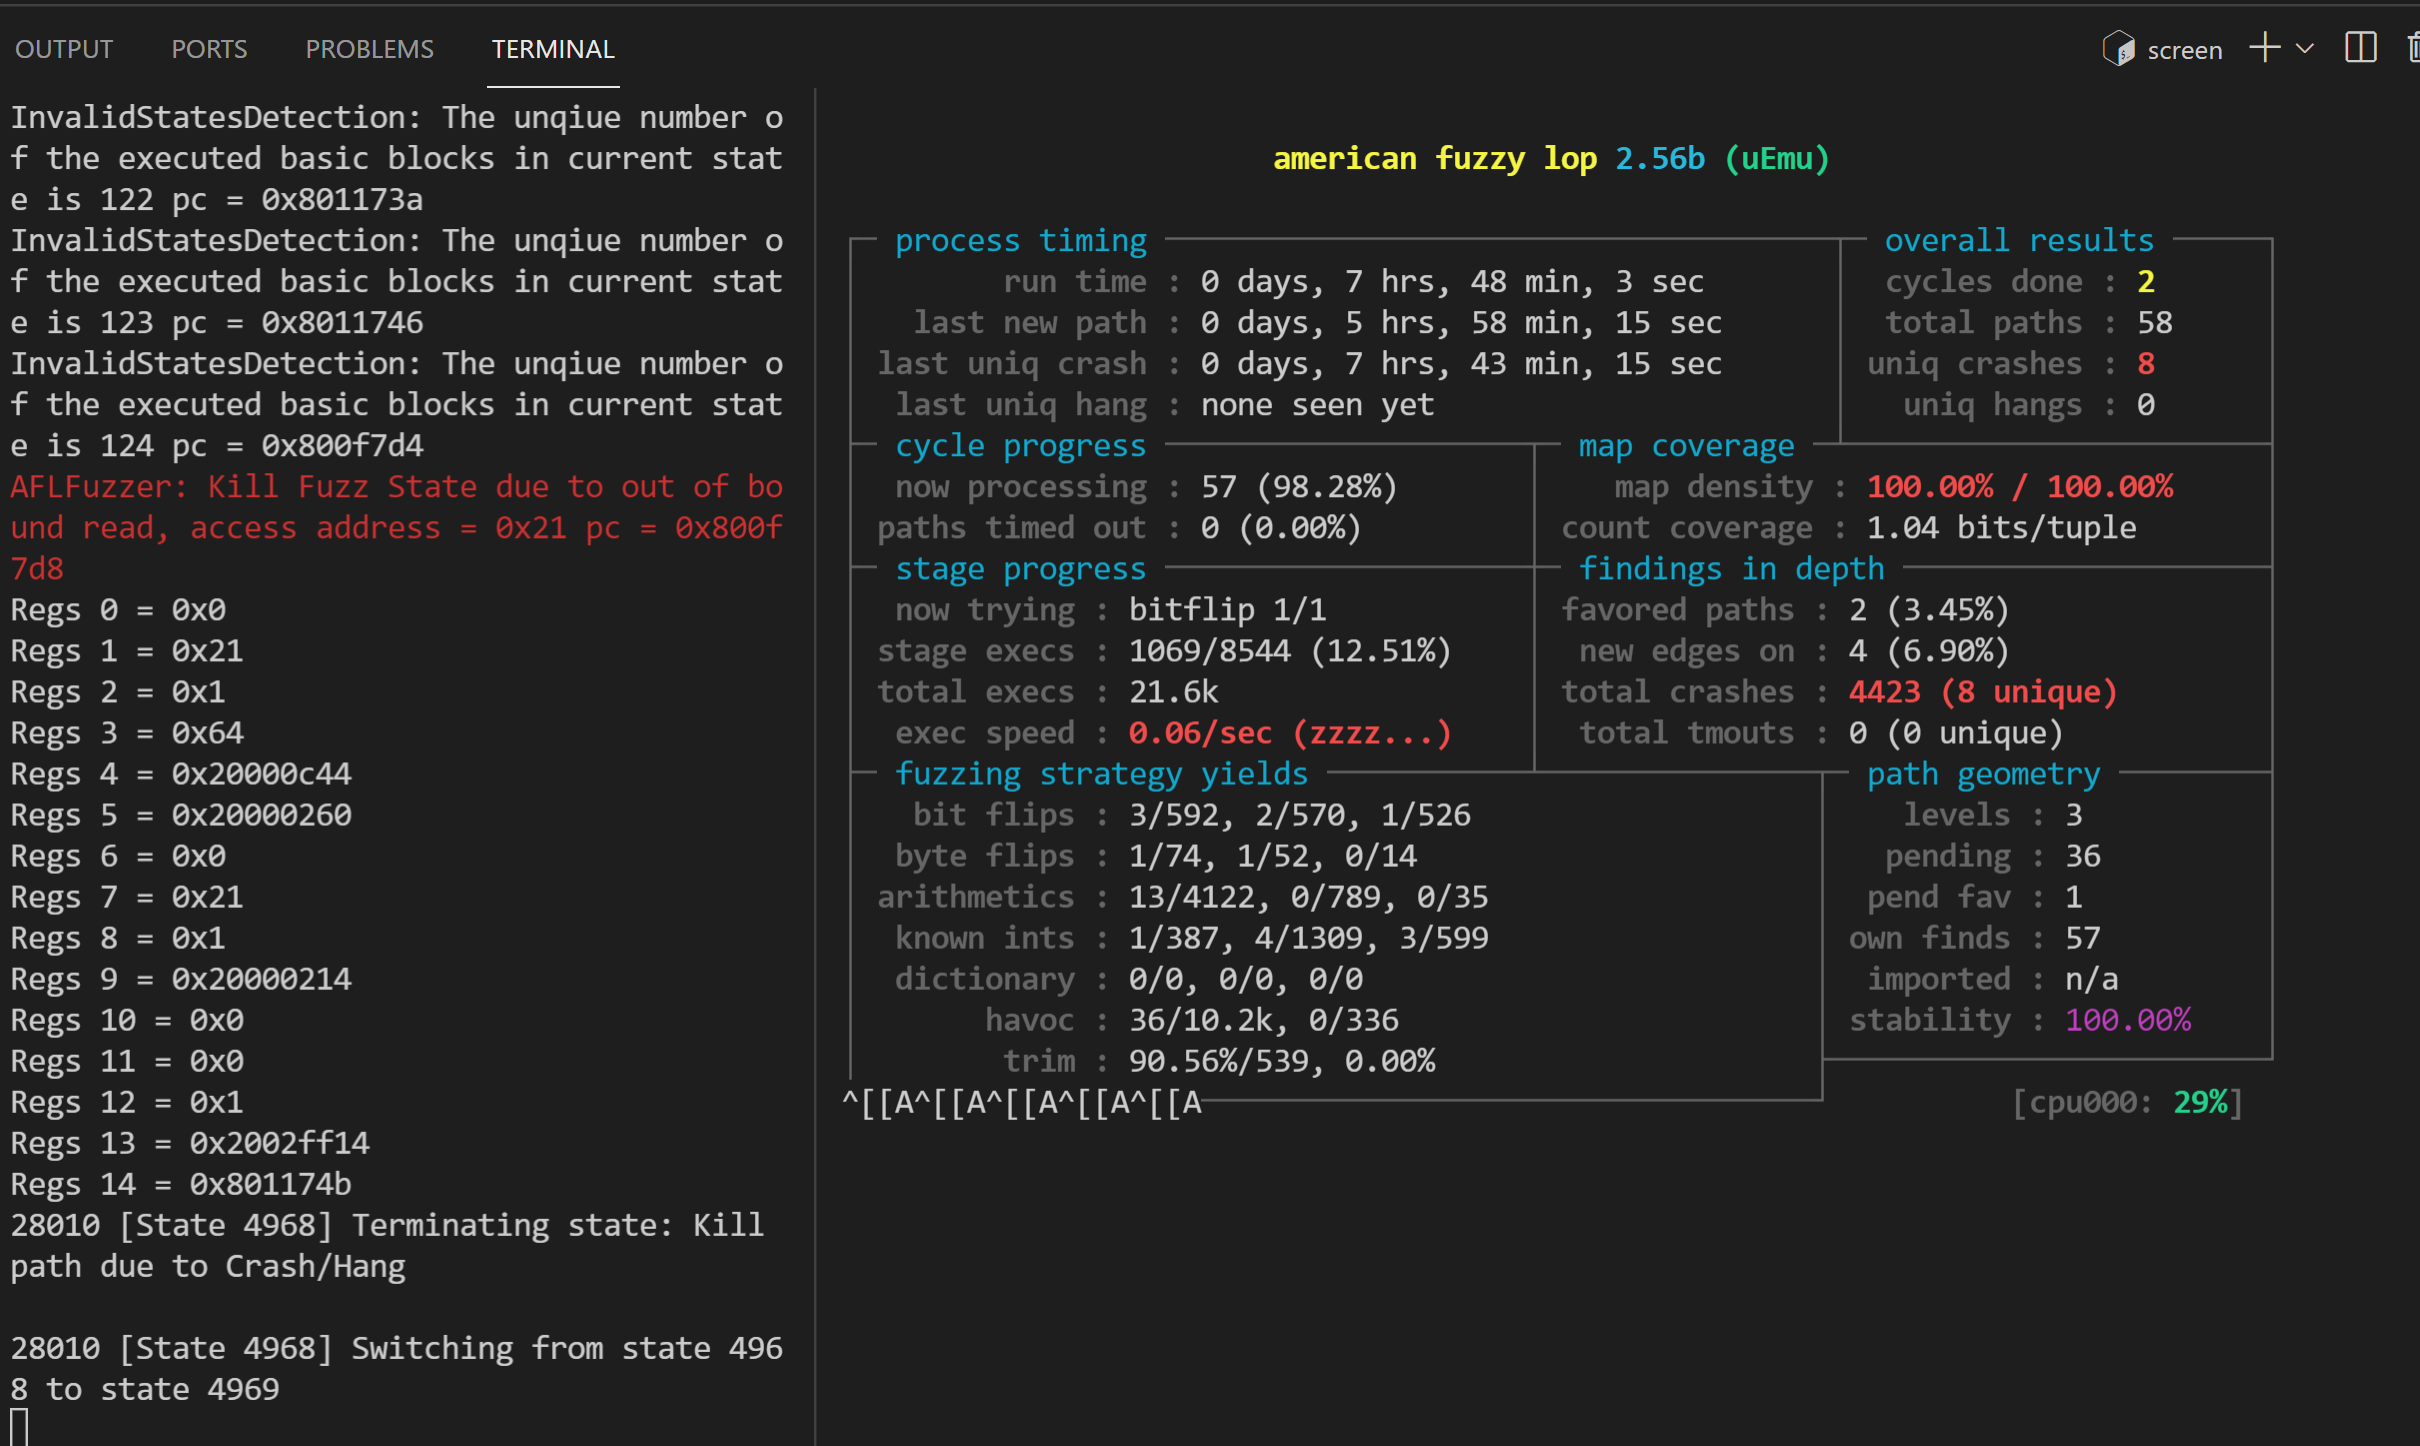
And a bunch of identical warnings in s2e-last/warnings.txt like:
AFLFuzzer: Kill Fuzz State due to out of bound read, access address = 0x21 pc = 0x800f7d8
Note
TODO: I don’t have the source code of this firmware (may be this one) and can’t locate the bug.
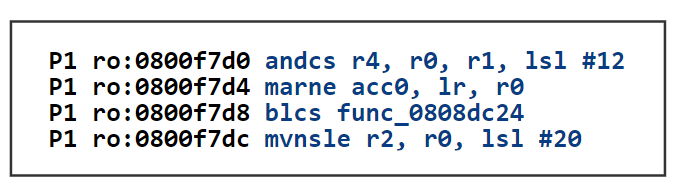
I uploaded the binary to an online disassembler: https://onlinedisassembler.com/odaweb/WynTPuPS , and try to find out what instruction at
0x800f7d8(it looks like jump to an external function at address0x808dc24asBLCSmay refer to a conditional jump)Run the firmware with QEMU to see the crash
Steering_Control
Source: https://github.com/RiS3-Lab/p2im-real_firmware/tree/master/Steering_Control
It is caused by a double-free of a string buffer, allowing for arbitrary write. More specifically, the firmware uses dynamic memory to store the received data from the serial port. If the memory allocation fails, the same buffer will be freed twice.
Hint
I guess it may refer to L131-132. As command and value are declared as Strings:
58 59 | String command; //Keep track of our command as it comes in String value; |
But assigned with Strings read from Serial
131 132 | command = Serial.readStringUntil(','); //Read all of the command value = Serial.readStringUntil('\n'); //Read all of the value to set |
I have almost no knowledge about Arduino, but at least for C/C++ (see std::string::operator=), String is allocated dynamically as it has undetermined length, = only copies the reference shallowly. When the moved string is deleted, it will issue an error when deleting command and value again, which happens automatically when the two variables are deconstructed.
python3 uEmu-helper.py uEmu-real_world_firmware/P2IM/P2IM_Steering_Control/P2IM.Steering_Control.elf uEmu-real_world_firmware/P2IM/P2IM_Steering_Control/P2IM_Steering_Control.cfg
./launch-uEmu.sh
Copy out the P2IM.Steering_Control.elf-round1-state0-tbnum385_KB.dat run
python3 uEmu-helper.py uEmu-real_world_firmware/P2IM/P2IM_Steering_Control/P2IM.Steering_Control.elf uEmu-real_world_firmware/P2IM/P2IM_Steering_Control/P2IM_Steering_Control.cfg -kb P2IM.Steering_Control.elf-round1-state0-tbnum385_KB.dat
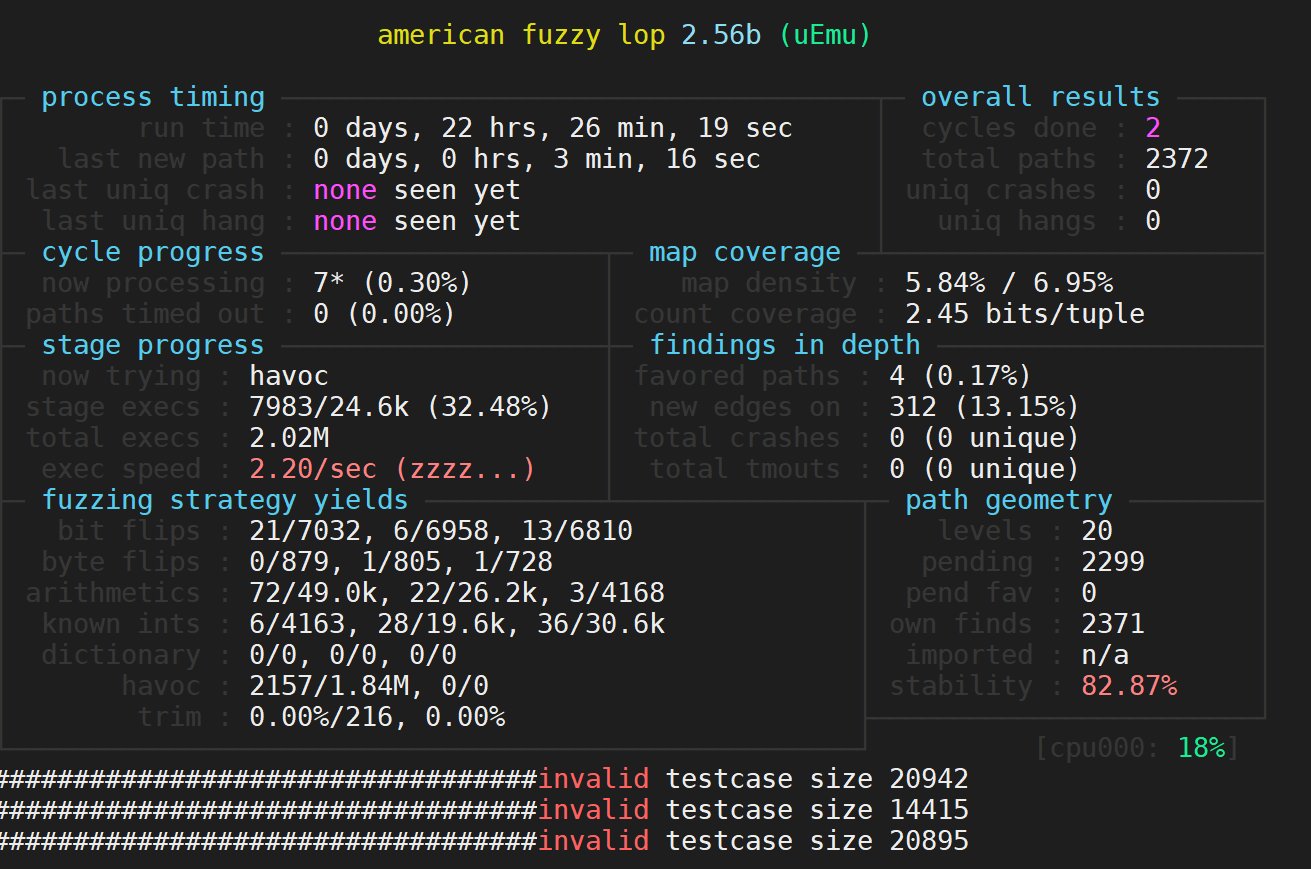
Then run the two processes mentioned above on different screens.
Frankly speaking, I let the AFL-fuzzer over night but it never crashed.
To view the last few lines of s2e-last/warning.txt file:
tail -100 s2e-last/warning.txt
# AFLFuzzer: 1 what happen when we are hang at pc = 0x811d4, maybe add it as a crash point
# AFLFuzzer: 1 what happen when we are hang at pc = 0x8125e, maybe add it as a crash point
# AFLFuzzer: 1 what happen when we are hang at pc = 0x8127a, maybe add it as a crash point
# AFLFuzzer: 1 what happen when we are hang at pc = 0x811d8, maybe add it as a crash point
# AFLFuzzer: 1 what happen when we are hang at pc = 0x811da, maybe add it as a crash point
# AFLFuzzer: 1 what happen when we are hang at pc = 0x80ee0, maybe add it as a crash point
# AFLFuzzer: 1 what happen when we are hang at pc = 0x816b8, maybe add it as a crash point
# AFLFuzzer: 1 what happen when we are hang at pc = 0x811e6, maybe add it as a crash point
# AFLFuzzer: 0 what happen when we are hang at pc = 0x8071a, maybe add it as a crash point
# AFLFuzzer: 0 what happen when we are hang at pc = 0x813ca, maybe add it as a crash point
It may indicate the existence of this bug.
Note
Anyway, in my opinion, the bug is hard to trigger because it requires the returned string from Serial.readStringUntil() to be freed before the program ends, which never occurs in runtime and prevents us from verifying the consequence via a fuzzer. I doubt if this bug was indeed discovered by the dynamic method proposed in this paper.~~ Even though I totally agree that it is a terrible coding style to directly assign reading buffer to dynamic memory.
Code Analysis
uEmu-helper.py: Read the firmware name, configuration (and knowledge base file, seed file) from CLI, fill out placeholders in
launch-uEmu-template.shto generate specifiedlaunch-uEmu.sh,launch-AFL-template.shto generatelaunch-AFL.sh,uEmu-config-template.luato generateuEmu-config.lua, which is used inlaunch-uEmu-template.shas S2E configuration file (actually useless except in debug mode)